How to Make a Cinch Loom
You can make a cinch loom in less than a few hours.
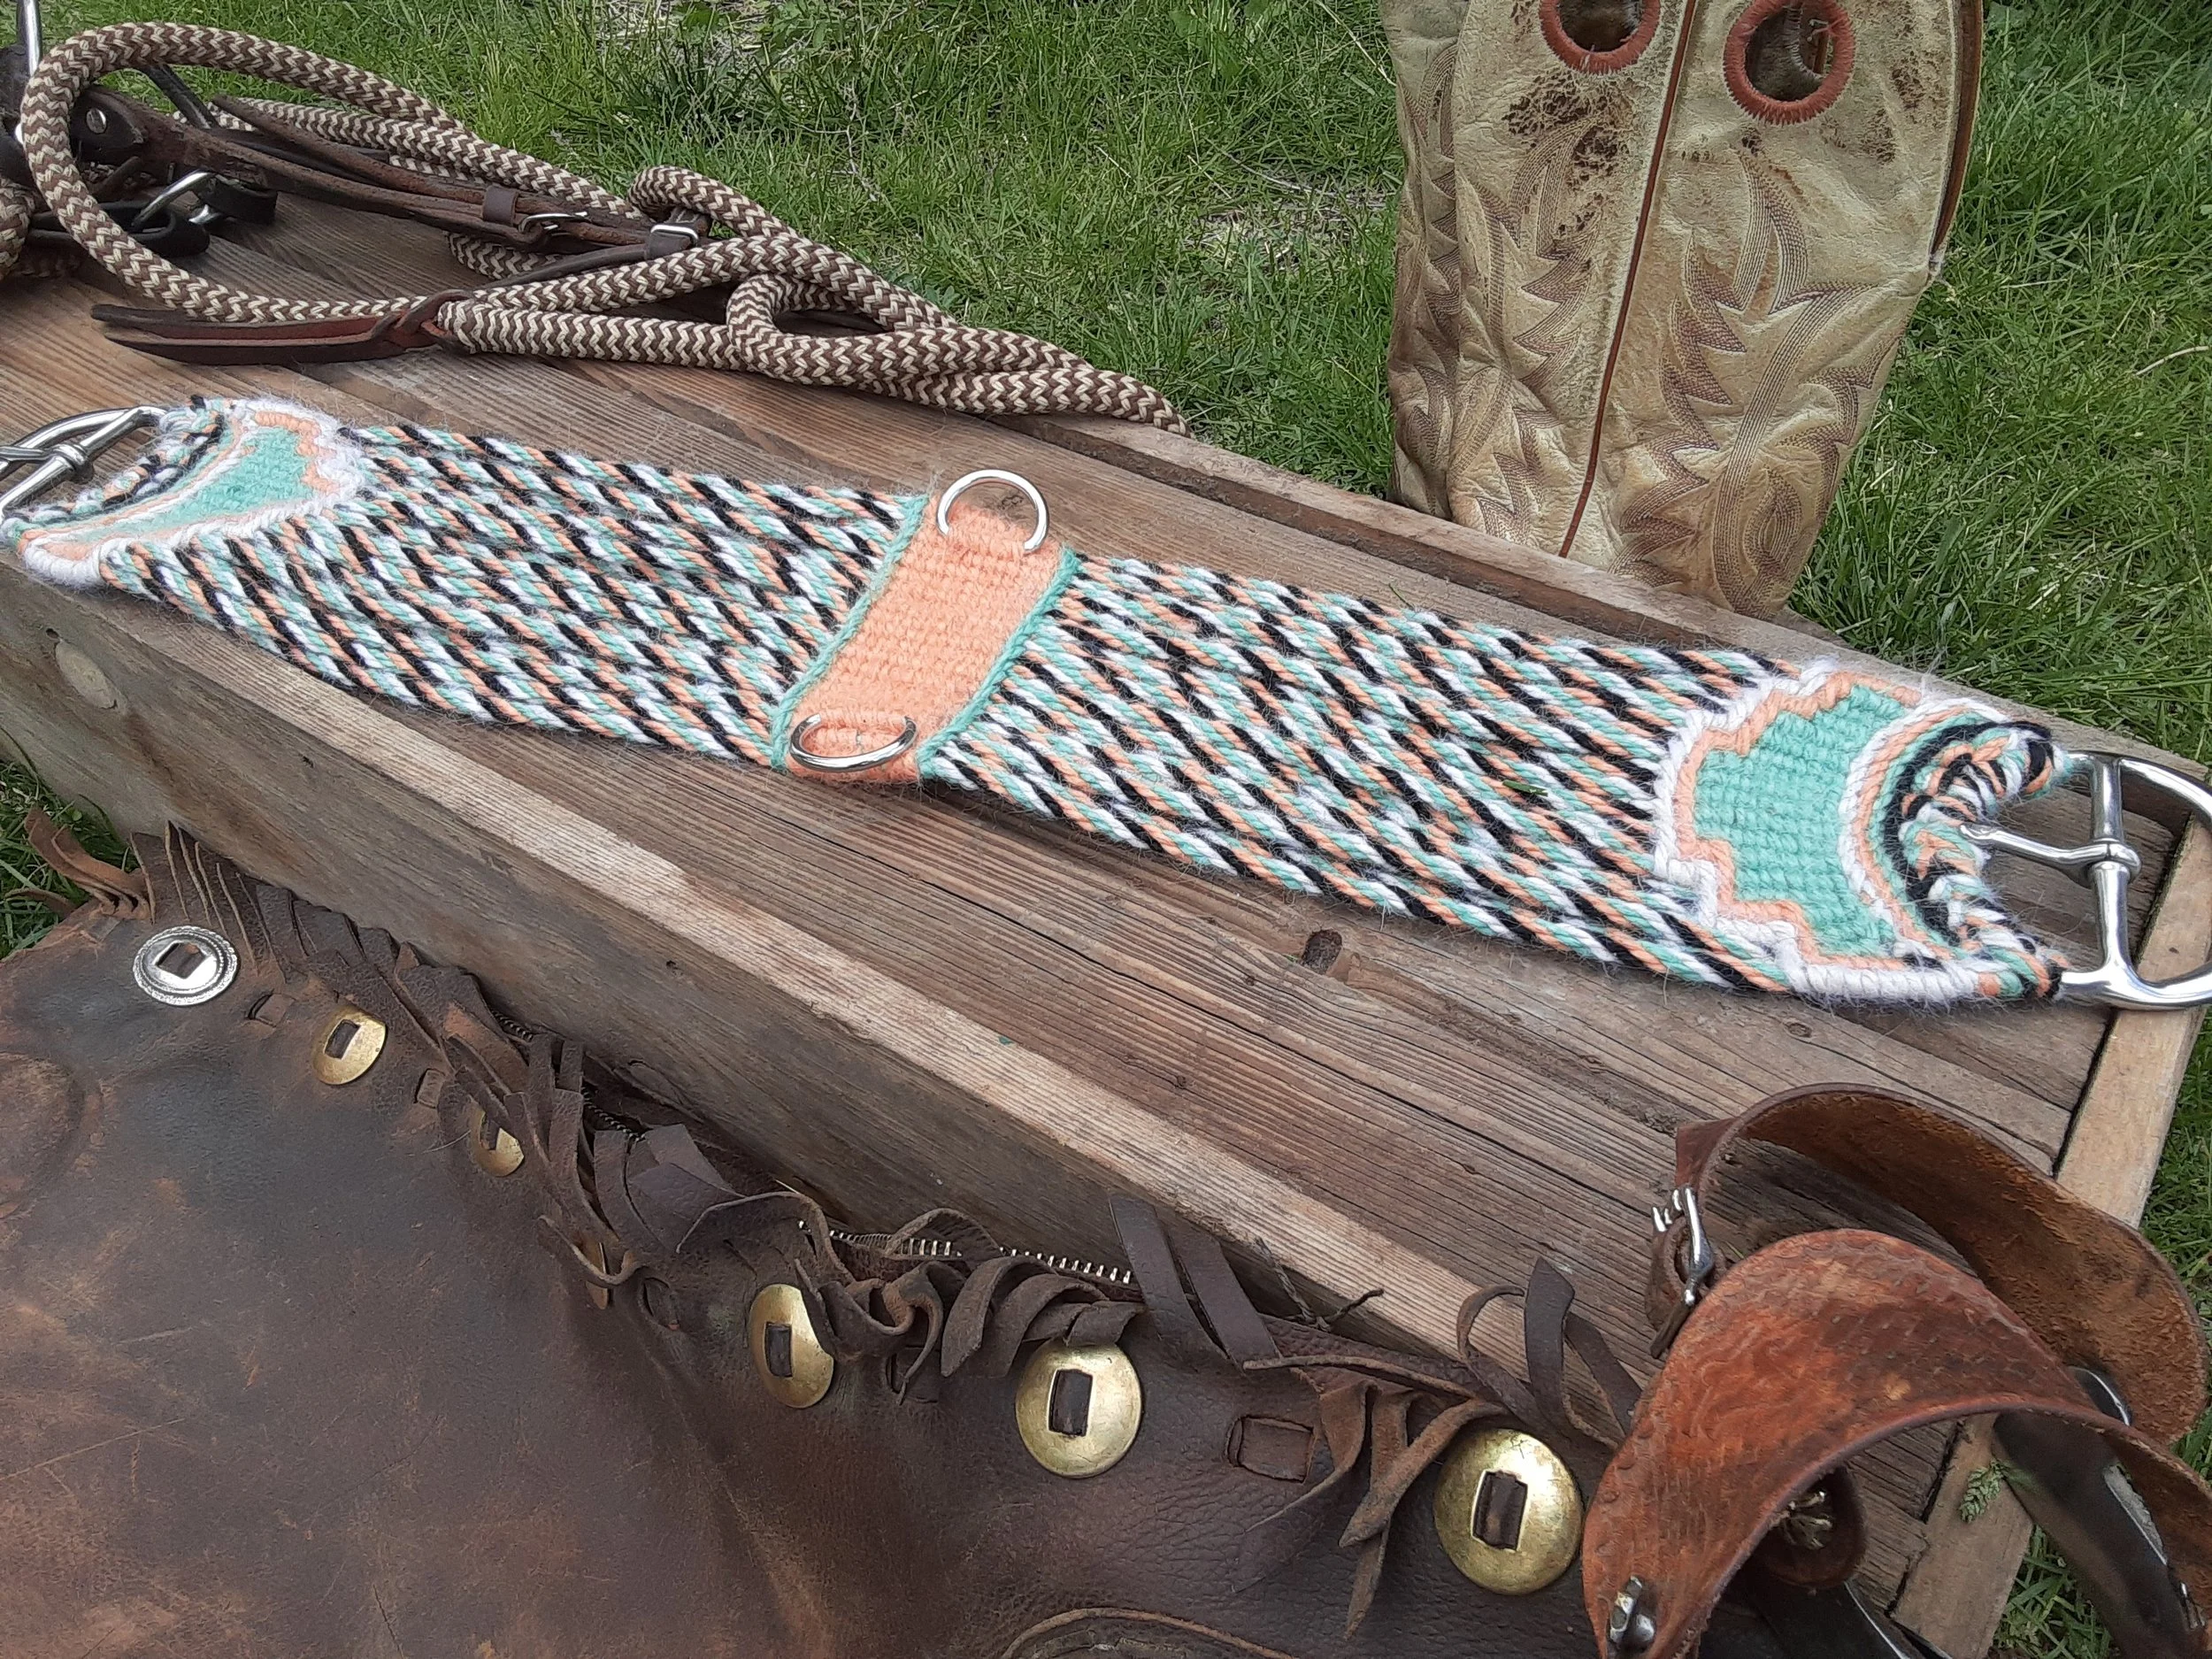
If you spend much time on this site, you probably enjoy your horses. You may enjoy camping with them, and you may simply enjoy riding them. You may also enjoy making your own tack. Making your own tack can be an enjoyable way to pass the time. It is also a good creative outlet that creates useful items to use. One pastime that doesn’t take much to get started is is making cinches.
If you are like most horse owners, you probably own multiple horses. Keeping multiple horses usually means having more tack on hand to accommodate all the specific tack requirements. Cinches are one item you can never have enough of, especially with multiple horses. At our house, everybody gets their own horse, but we all also take turns riding the others. It’s a great way to keep the horses in tune and riding good. However, my riding saddle is rigged with a cinch that fits the horse I normally ride. Sometimes I can just throw it on another’s back and it’s good to go. Other times, the cinch is either too long or too short. By having a good supply of different cinches available, I can take a minute or two and find one that fits the new horse using my saddle.
You can certainly buy all of the cinches you need. Most people do. However, if you enjoy crafting your own horse tack, why not make your own? That way, you can have all the cinches that fit your outfit specifically. It also helps you add your own personal touch to your riding gear.
As mentioned, making cinches doesn’t take that much to get started. Perhaps the most expensive piece of equipment could be the cinch loom. These can easily run you nearly $200, a price that may scare many people away before they get started. However, for less than $30 and less than 2 hours, you can easily make your own with just a few simple tools.
Keep reading to learn how to make a cinch loom that can get you started in the world of weaving.
Tools and Materials
Saw
Drill
Drill bits
1 to match the size of the dowel
1 slightly smaller than your screws
1 to tighten screws
1 1/2” screws
Wood glue
Tape measure
1”x 8”x 8’ lumber
Wood dowel
4 screw-in hooks
Scrap 2”x4”s
Sand paper
Quick clamps
Pencil
Process
If you would rather watch the process, check out this video I made showing you each step.
Step 1 - Dimension the Lumber
The first thing you’ll want to do is get your 1”x 8” piece of lumber cut down to the proper dimension. At the moment, I don’t have a table saw, but I am fortunate to live in a small town. When I bought the lumber, they offered to use their table saw to cut it for me. If you don’t have this option, you’ll have to find a way to cut it down. I had two pieces cut to 2” and that made the leftover piece a little over 3”.
Once you have pieces the width you want, the next step is to cut them to length. Of course, you can cut them however long you want. I cut the two loong sections at 44”. If I could go back, I would cut them at 48” just in case I ever wanted to weave something a little longer. For the shorter sections, I went ahead and cut them at 12”. This made the inside of the loom a shade over 10” wide when I was done. The final piece I didn’t cut until later, but it ended up being the exact same measurement as the inside of the loom.
Step 2 - Insert Hooks
Once you have the pieces cut, you can next install the hooks on the bottom board. To do this, find the center and then measure 1” each side and make a mark. Next, use your smaller drill bit to drill pilot holes in the board. A pilot hole is just a hole you drill before running your screw. I used pilot holes throughout the process because they help decrease the likelihood you’ll split the wood. With the pilot holes drilled, screw in your hooks. Be sure to avoid screwing them in too deeply and having them come out the back.
Step 3 - Measure for Dowel Holes
This loom design uses dowels to lock the adjustable part of the loom in place. For my loom, I wanted holes spaced every 1” to easily make different lengths. To get these correct, the first thing I had to do was measure the holes. In order to have the proper location, I first needed to locate how far the tops of the hooks were from the bottom of the board. Remember, when the cinch is in the loom, it will lock on the hooks. If you were to take your measurements from the bottom of the board, you would be off. (Just over 2 1/2” in my case).
Once I found the appropriate location, I simply locked my tape measure and made marks every inch.
Step 4- Drilling Dowel Holes
With your dowel holes marked, you can drill them out. To keep things even, it helps to lock your two side pieces together using some clamps. That way, you drill once and get two holes. Drill all the holes and you’re done.
Step 5 - Fitting the Frame Together
At this point, you need to finally attach your frame together. To do this, I started by making a few pilot holes through the bottom board. Then, I added some wood glue before using screws to attach the piece. Once I rotated the loom, all I had to do was repeat the process on the other side, and my cinch loom frame was fitted together.
Step 6 - Adjustable Hooks
As I mentioned earlier, I cut this piece once my loom was all fitted together. Once it was cut, I made two pilot holes that were each 1” off center. This aligned them with the hooks on the bottom of the loom. After attaching my hooks, I marked several holes on the side of the piece to be drilled. I marked them 1” apart and drilled them with the drill bit that matched my dowel diameter. After that, my loom was ready for use.
As you can see, learning how to make a cinch loom is a relatively easy process. Once you have one built, it can help you get started making all the cinches you’ll need. It’s an important piece of gear that can help you use some of your own creativity to make your own tack.